
- Log into FleetCheck and navigate to Settings
- Click API from the menu
- Press the green “Create API Key” button
- Name your API key (something memorable like “PowerBI-Integration”)
- Copy the generated API key and save it somewhere secure
- Add your IP address if you have a fixed IP (click the green “Add IP address” button)
- Press save to finalise your API key
PRO TIP: Keep your API key confidential. Treat it like a password and never share it publicly.

- Open Power BI desktop
- Click “Get data”

- Select “Web” from the data source options

- Choose “Advanced” for more connection options
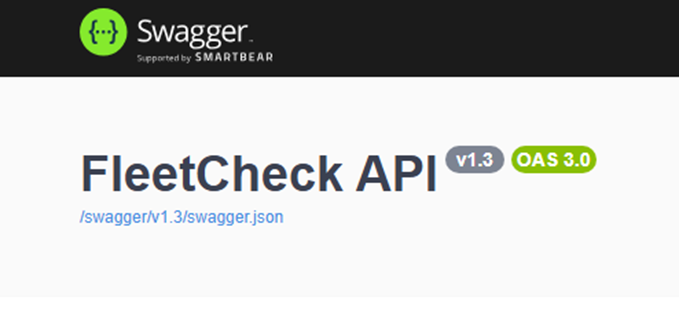
- In the URL field, enter your FleetCheck API endpoint (found in the Swagger documentation)
- Under HTTP request header parameters, type “APIKey” and paste your API key from Step 1 into the box on the right
- Click OK to establish the connection
You can use Power Query Editor to filter, transform, and clean your data to fit your reporting needs.
Essential Transformations to Consider:
- Filter data to focus on specific dates, vehicle types, or departments
- Clean up formatting to ensure dates, numbers, and text display correctly
- Rename or remove unnecessary columns to improve performance and clarity
- Set up automatic updates so your dashboards always show current information

What Happens Next?
And that’s it! You’ve successfully set up Power BI and are ready to take your fleet data to the next level.
Your next steps:
- Explore your data to understand what information is available
- Create your first dashboard
- Share insights with your team to driver better decision making
Need Help?
If you encounter any issues during setup, feel free to get in touch with our client support team at support@fleetcheck.co.uk or call 01666 577928.